Thursday, February 28, 2013

Banana Coconut Bread


Banana... coconut bread? Yes, it is as amazing as it sounds, even without the chopped nuts, which I leave out for allergy concerns. My Dad doesn't even like coconut and he liked this bread.


Ingredients:

What your bananas should look like.
  • 1 cup sugar
  • 1 stick of softened butter
  • 1/4 cup applesauce
  • 2 eggs
  • 2 large or 3 small very ripe bananas, smashed
  • 2 cups all-purpose flour
  • 1 tsp. cinnamon
  • 1 tsp. baking soda
  • 1 tsp. baking powder
  • 1 tsp. salt
  • ¾ cup shredded coconut


Directions:


1. Preheat the oven to 350 degrees F and grease and flour a 9X5 loaf pan. (1.5 quart capacity)

2. Using an electric mixer, cream the sugar and butter together until light and fluffy. Then add the applesauce, eggs and bananas. Mix until combined.

3. In a separate bowl, whisk together all the dried ingredients. Slowly beat the dry mixture into the wet.

4. Add the coconut. Mix well.

5. Pour the batter into the loaf pan. Bake for 20 minutes, then lower the temperature to 325 degrees F and bake another 40+ minutes, until a toothpick inserted in the middle comes out clean.


6. Allow the bread to cool for 10 minute in the pan, then flip it out onto a cooling rack.
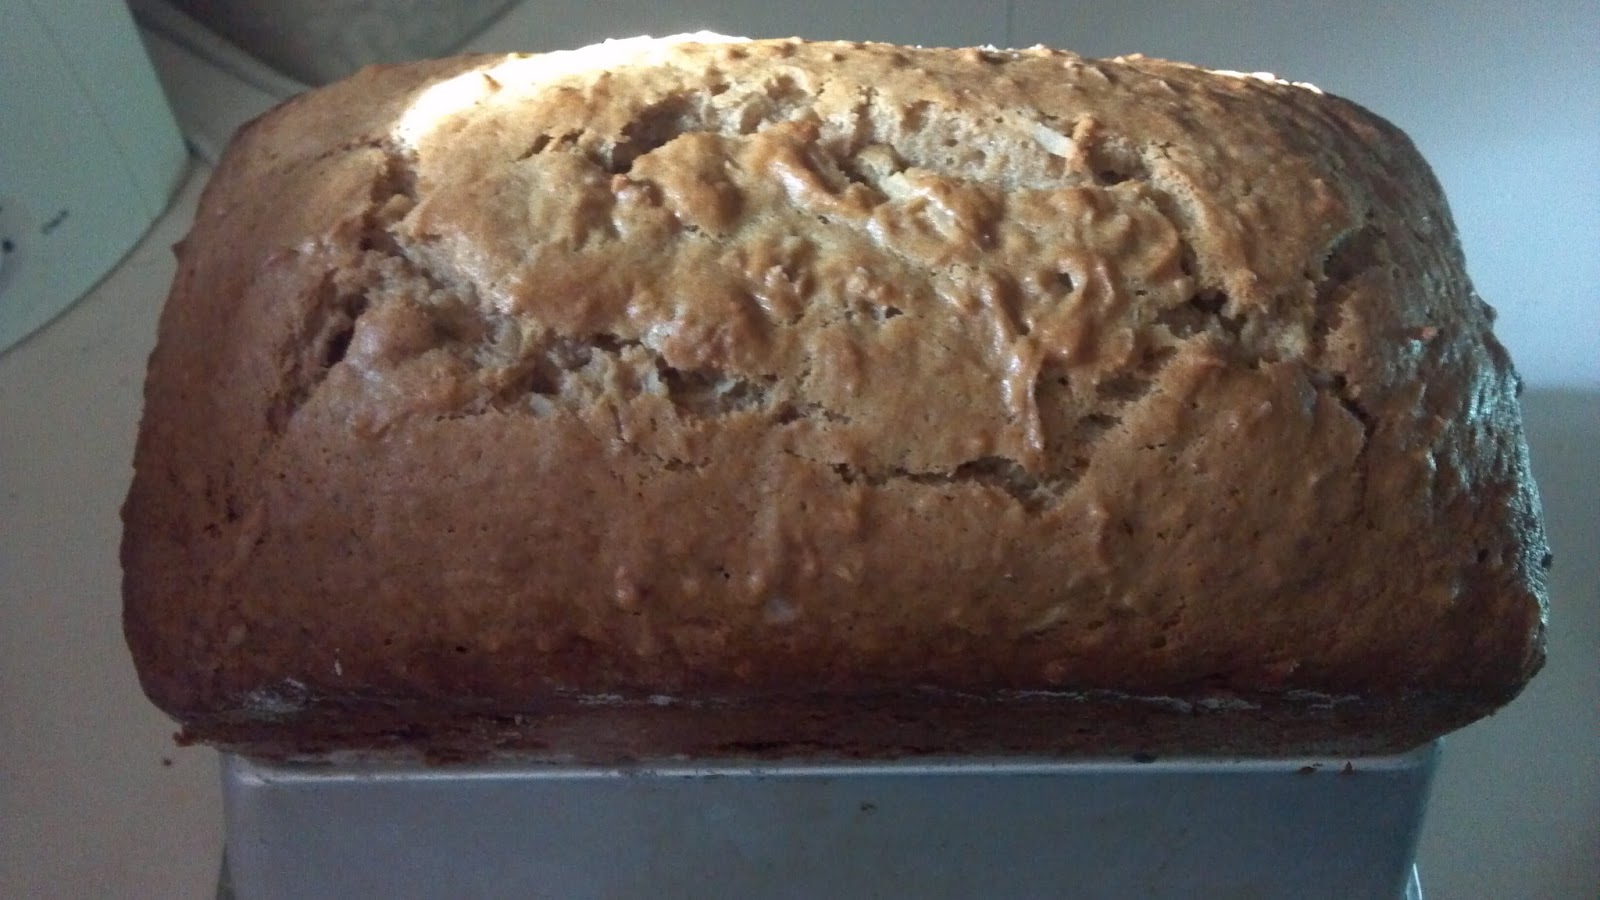


Nom nom nom!


Thursday, February 21, 2013

"Starbucks" Lemon Loaf


I'm going to make this again. Like, today. I love the simplicity of this loaf and the quick icing makes it even better.

I made one small change that I'm going to keep for future loaves. Instead of lemon extract, I used orange extract, and for the frosting I used lemon juice. YUM.


Ingredients:
Loaf

  • 1 1/2 cups FLOUR
  • 1/2 teaspoon BAKING SODA
  • 1/2 teaspoon BAKING POWDER
  • 1/2 teaspoon SALT
  • 3 EGGS
  • 1 cup SUGAR
  • 2 tablespoon BsUTTER; Softened.
  • 1 teaspoon VANILLA
  • 1 teaspoon Orange EXTRACT
  • 1/3 cup LEMON JUICE
  • 1/2 cup OIL

Lemon Icing:
  • 1 cup POWDERED SUGAR; Plus 1 Tablespoon.
  • 2 tablespoons WHOLE MILK; I Used 2%.
  • 1 teaspoon lemon juice
_____

1. Combine flour, baking soda, baking powder and salt in a bowl.

2. Use a mixer to blend together the eggs, sugar, butter, vanilla, lemon extract and lemon juice in a medium bowl.

3. Pour wet ingredient into the dry ingredients and blend until smooth.

4. Add oil and mix well.

5. Pour batter into a well greased 9x5-inch loaf pan.

6. Bake at 350 degrees for 45 minutes or until a toothpick stuck into center of the cake comes out clean.
7. Make the lemon icing by combining all the icing ingredients in a small bowl with an electric mixer on low speed.

8. When the loaf is cool, remove it from pan and frost the top with the icing.
9. Let the icing set up before slicing.


Thursday, February 14, 2013

Parmesan Potato Bread


Mine may not be quite as pretty as the above but it was delicious! The original recipe makes two small loaves, so I froze half of the dough before the second rise. I've cooked the frozen one off since and it also turned out well. Don't forget to let it thaw AND do the second rise, though!

I didn't get a lot of good pictures of the process, so let's get straight to the recipe:
Ingredients:
  • 2 medium sized russet potatoes (about 8 oz.)
  • 1 tbsp active dry yeast
  • 1 tbsp sugar
  • 2 tsp salt
  • 1/2 cup water
  • 4 1/2 cups bread flour or all purpose flour
  • Olive oil
  • 1 cup Parmesan cheese, grated
  • 1 egg, lightly beaten + 2 tbsp water
Directions:
  1. I used instant mashed potatoes by preparing them according to the package. I'm a big fan of not going to the store for a single ingredient and going with a substitution instead. One potato is about one serving of instant mashed potatoes, maybe a little more. Go figure. So, you'll need 2-3 servings of instant mashed potato.
  2. Add the dry yeast and sugar and let stand for 10 minutes.
  3. Add the salt, water and 3 cups of flour. Mix until smooth, adding more water if necessary.
  4. Stir in the Parmesan cheese and gradually add in the rest of the flour by ¼ cup increments. I didn't have the full amount of Parmesan cheese but the bread turned out fine any how.
  5. Turn the dough onto a floured surface and knead for 5-7 minutes, until dough is smooth and elastic. Add more water if necessary.
  6. Drizzle some olive oil in the empty bowl and place the dough back into it. Cover with plastic wrap and let rise for 60 minutes, or until doubled in size.
  7. Place the dough on a floured surface and deflate. Divide the loaves and freeze one.
  8. Place the loaf on lightly oiled parchment paper,
  9. Cover with a dish towel and let rise for 45 minutes.
  10. Preheat the oven to 375ºF.
  11. Stir together the egg and water and brush the wash over the loaf.
  12. Bake for 30-40 minutes, until bread is a dark golden brown (internal temperature should read 195-200F).
  13. Transfer to a rack to cool.

Here you can see how well the parchment paper works for a clean removal from the pan:


Becomes:

Delicious!


Saturday, February 2, 2013

Crockpot Pineapple Chicken

Crockpot Pineapple Chicken


Last night I went on a Pinterest pinning spree. I spent maybe an hour pinning anything that looked delicious or fabulous. In my endeavors, I came across this crockpot pineapple chicken recipe. The picture looked fabulous so I pinned it to my Foods board.

This morning afternoon when I got up I said to myself, "Self, you have all the ingredients to make this dish. Why don't you try it?" So I pulled myself out of bed and got my Kindle Fire and Pinterest App fired up. I clicked on the pin to go to the source website and that was when I learned that the pin doesn't actually lead anywhere! All the directions that you're ever going to get are contained in the pin text itself. Those ingredients are as follows verbatim:

"Crockpot! 1 cup pineapple juice 1/2 cup packed brown sugar 1/3 cup light soy sauce 2 pounds chicken breast tenderloins. Cook on low 6-8 hrs and they should just fall apart."

Simple enough. I whisked all my ingredients together, put my chickens in the crockpot, and poured my homemade marinade over the chicken. I set my crockpot to high because I'm inpatient and I proceeded to wait. I did flip my chickens at the halfway point since I had put them in frozen and I wanted to get maximum marinade coverage. 


This is what I had after approximately 5 hours on high:


It looked more like barbecue than the lovely glistening pieces of chicken presented in the pin. I was dubious. I cut myself off a piece and tasted it. Delicious! I scooped some rice in my bowl and nommed it in record time. 


It is my opinion that the chicken pictured in the pin is from chicken that was grilled or cooked on a stove top. It's possible you can get a similar look if you do cook it on low in the crockpot, but I highly doubt it. Either way, this was a pretty good meal and fairly easy to prepare. This is also a good replacement for any store bought pineapple teriyaki marinade.